
Prerequisites
You must have Eclipse and Android SDK already installed.
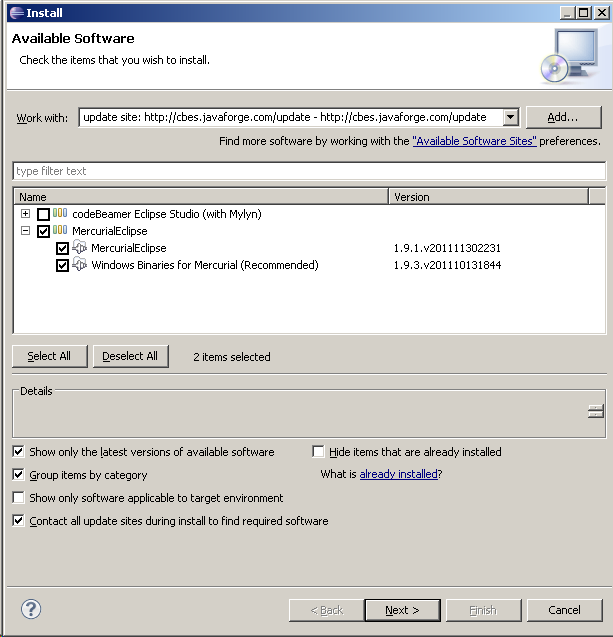
First of all we need the Mercurial plug-in installed. Go in Eclipse to Help -> Install New Software, and install from http://cbes.javaforge.com/update.
Getting AndEngine Sources
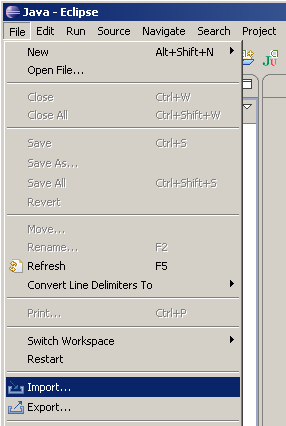
To get AndEngine sources in eclipse, go to File -> Import in the Eclipse menu.
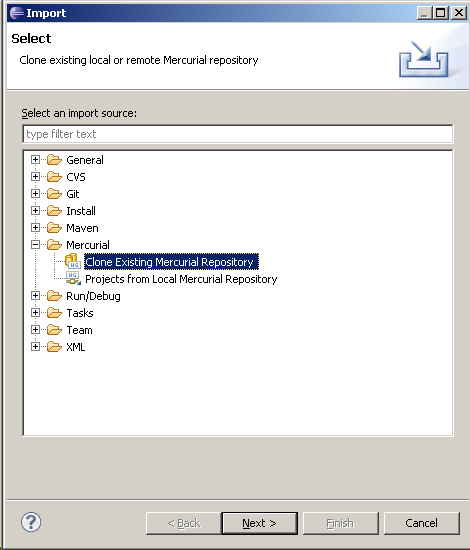
Then select "Close existing Mercurial Respository"
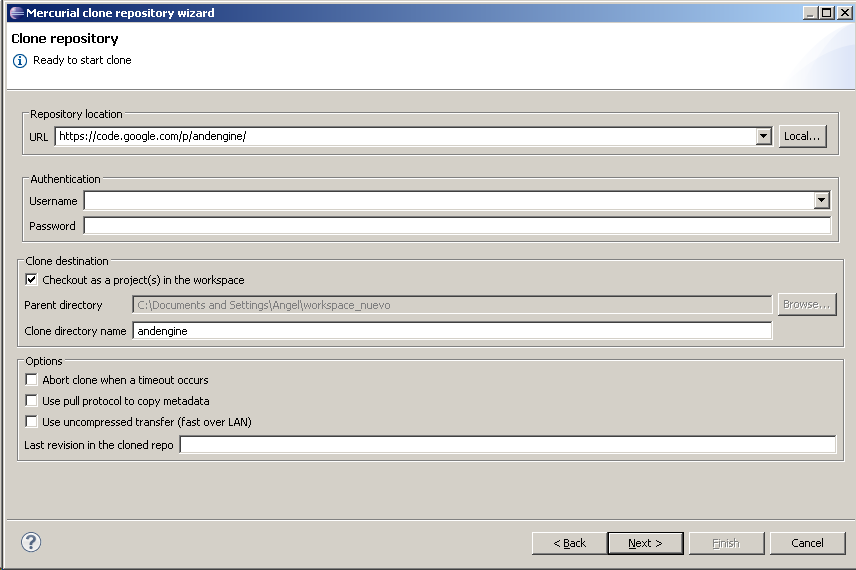
In Repository Location put https://code.google.com/p/andengine/ and click Next
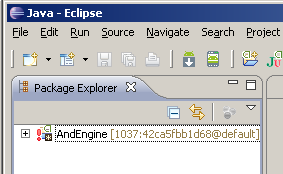
Click Next Again. and Finish. My Eclipse looks like this:
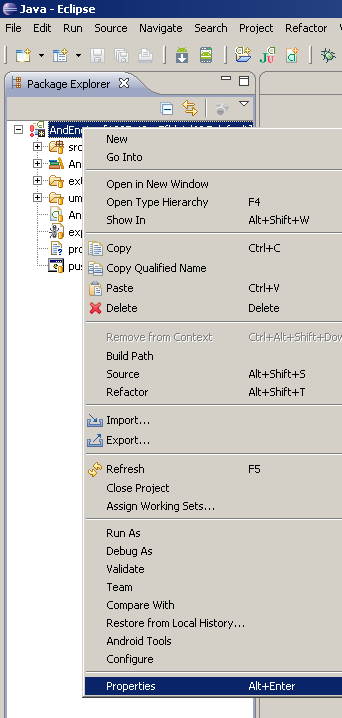
Then we have some errors in the Eclipse proyect. To solve this you need to do two things.
Right click on AndEngine Proyect and go to properties.
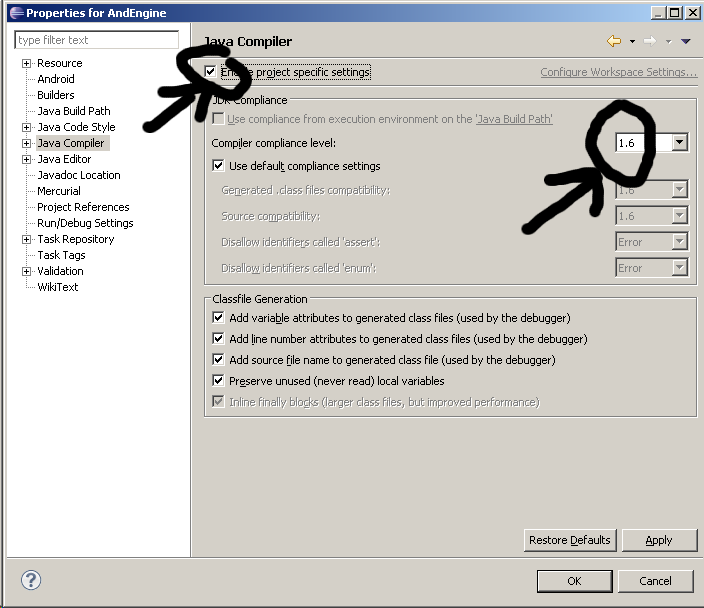
In the left side choose Java Compiler and make sure that Enable project specific settings and 1.6 in the compilance level is clicked.
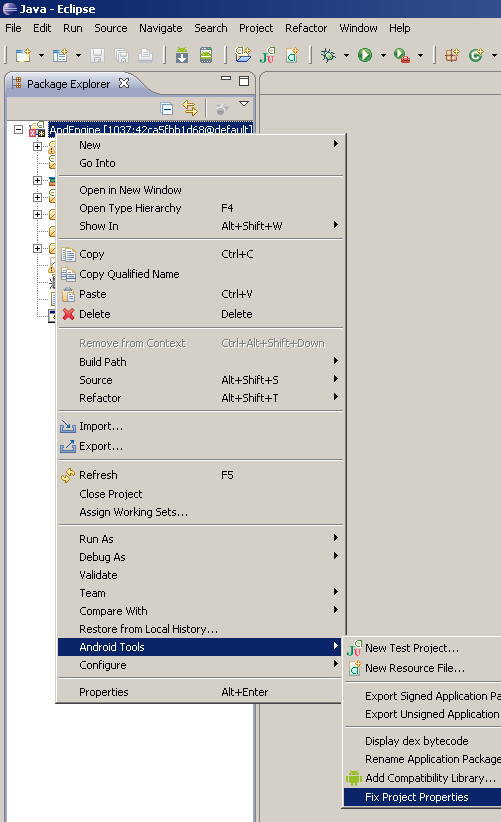
Right click on the AndEngine proyect and go to Android Tools -> Fix project properties.
New we have a clean AndEngine sources installed.

We must get now all the extensions for AndEngine. Repeat the same process with these urls
- https://code.google.com/p/andenginelivewallpaperextension
- https://code.google.com/p/andenginemodplayerextension
- https://code.google.com/p/andenginemultiplayerextension
- https://code.google.com/p/andenginemultitouchextension
- https://code.google.com/p/andenginephysicsbox2dextension
- https://code.google.com/p/andengineaugmentedrealityextension
- https://code.google.com/p/andenginesvgtextureregionextension
- https://code.google.com/p/andenginetexturepackerextension
Congratulations
We have now a clean installation of AndEngine totally updated. In the next weeks i will update all the series of the tutorials to the last version of AndEngine.


No comments:
Post a Comment